
Contenta CMS is a headless platform built upon Drupal and available as a Drupal distribution. I have previously looked at decoupling Drupal using Tome and Gatsby. Contenta CMS is a different approach that uses an API layer and a front end framework to create a complete website. The key difference is that Tome and Gastby.js are packaged with the Drupal content inside them, whereas Contenta CMS uses Drupal's API systems to create a real-time website that updates as content is changed within Drupal.
Rather than opt for one particular JavaScript framework you can plug a number of different frameworks to act as the front end of the site. These front end frameworks include Angular, Elm, React and Vue.js with more frameworks being worked on. All they need to do is consume the API, and the system is built with modules that facilitate this process in the form of JSON API and Open API.
First, let's look at installing Contenta CMS.
Installing Contenta CMS
Contenta CMS isn't hard to get started with as it's essentially a Drupal site. To install it you need to run three commands, which basically downloads and runs a script. The script is mostly involved in printing the Contenta CMS logo and figuring out if the directory supplied exists and is valid. If everything works out then the script creates the composer project that downloads and installs everything.
$ php -r "readfile('https://raw.githubusercontent.com/contentacms/contenta_jsonapi_project/8.x-2.x/scripts/download.sh');" > download-contentacms.sh
$ chmod a+x download-contentacms.sh
$ ./download-contentacms.sh contenta
The next step is to create the environment files (.env) that are used when installing the system. There are a few things to understand about the .env files here, but essentially the .env contains your database details and should only really be created on your production environment, probably through a deployment process. The .env.local can contain your local database credentials as it is ignored by Git as a default.
Create a local .env.local file by copying and renaming the existing .env.local.example file. It is also possible to add in a few other constants in this file, which are used by Contenta CMS during the install process to create the site and populate the settings.php file in Drupal.
SITE_MAIL=admin@localhost ACCOUNT_MAIL=admin@localhost SITE_NAME='Contenta CMS Demo' ACCOUNT_NAME=admin MYSQL_DATABASE=drupal MYSQL_HOSTNAME=localhost MYSQL_PORT=3306 MYSQL_USER=drupal ACCOUNT_PASS=admin MYSQL_PASSWORD=drupal
With the credentials to your database in place, you can now run the install script. This will use the .env file to create your settings.php file and set up Drupal with any other passed in parameters.
composer run-script install:with-mysql
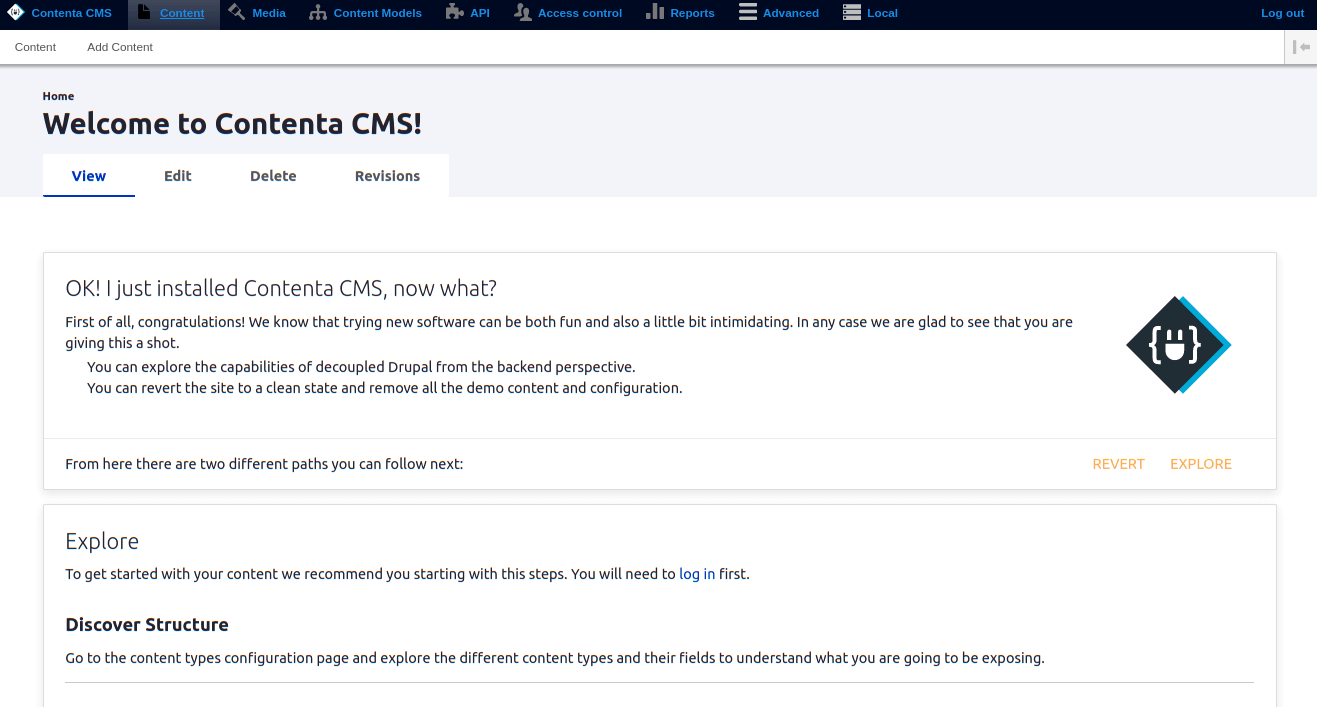
Once the installer script has been completed you will have a ready to use Drupal site. The site itself is built upon the Umami demo site so you will see content items like "Recipe" in your content. Contenta is built around the editor experience and so doesn't really have a front end experience to speak of. In fact, the only installed theme is the new administration theme, Claro so although you can visit pages they don't really do much.
What's nice about the default install here is that it comes pre-packaged with all the tools needed to run a Drupal API. This includes an OpenAPI documentation page (provided by ReDoc) that will allow you to view all the API endpoints available. Having the documentation built right into the site is extremely helpful when building a front end for the site.
This probably isn't the end of your Contenta CMS setup as you will likely want to hide some of this starting content behind a login prompt. The homepage you see above is just a page of content, so you can edit it as you need. As it's a Drupal site you can just replace it with a login prompt as requiring users to log in before accessing your site.
Building a front end
As Contenta CMS is built around being an API site this gives you a lot of flexibility when it comes to selecting a front end. You, therefore, have quite a few options available to you.
As an experiment to see how it worked I decided to pick one of the available demo repositories on the Contenta Github account. The VueJS and NuxtJS project seemed to have the least amount of setup required so I selected that as a test. This is a self-contained project creates a web server that uses VueJS to consume the Drupal API and build the content pages.
I should note that development has currently halted on this project, but it works well enough to show how things fit together, as long as you use the head of the master branch. If you are interested in updating this project then it is looking for a new maintainer.
To download the project and install the project dependencies use the following commands.
$ curl -Lo contenta_vue_nuxt.zip https://github.com/contentacms/contenta_vue_nuxt/archive/refs/heads/master.zip
$ unzip contenta_vue_nuxt.zip
$ mv contenta_vue_nuxt-master contenta_vue_nuxt
$ cd contenta_vue_nuxt
$ npm install
Once that's all done the next step is to point the application at your local Contenta CMS site. To do this open the file nuxt.config.js in the root directory and change the serverBaseUrl and serverFilesUrl to point at the correct URL. In my case I had installed Contenta CMS at the address contenta.local, so I changed the configuration file accordingly.
const serverBaseUrl = 'http://contenta.local';
const serverFilesUrl = 'http://contenta.local';
With all that in place, we can run the webserver using the npm run command.
$ npm run dev
After compiling the site you can now visit it using the address http://localhost:3000. This shows the usual content found in the Umami install profile but with a different theme provided by the VueJS templates and styles.
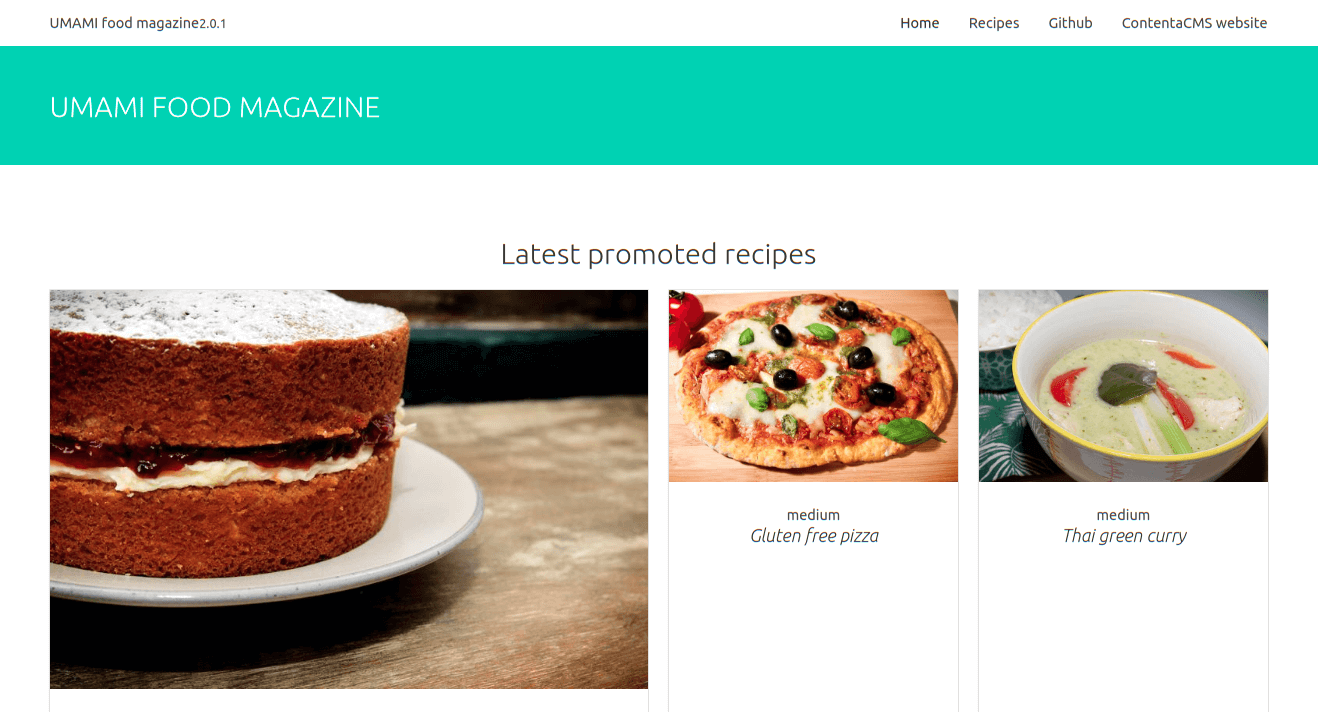
Clicking around the site shows all the content available on the Drupal site, and it's pretty quick to deliver the pages of the site.
The key difference between other models like Tome and Gatsby is that this data is pulled from the Drupal site in real-time. I updated some of the content on the site through the Drupal interface and it immediately showed the new content on the site.
Also available from the Contenta CMS project is ContentaJS. This is a self-contained project that acts like a NodeJS based proxy between your Drupal site and your front end application. It allows for things like caches and intelligent path rejection so that it doesn't ask your Drupal site for paths that it knows don't exist. This allows you to prevent unnecessary load on your Drupal web servers. Although I did get this up and running it is perhaps a more bare-bones approach that allows you to build out your front end site as you need.
Conclusion
Overall, I was impressed by the effort that has gone into this project and the demo applications available. It took a while for me to get everything set up, but some of that was trying to get my head around the various different demo projects available. At its core, Contenta CMS does everything you would expect from a Drupal site that has been set up to be an API first site.
What I couldn't figure out was how to install Contenta CMS without the Umami content types and content installed. Although removing them isn't really a massive issue it seems like a problem all that test content is installed whether you want it or not.
What might slow things down is creating a front end application as although a few demo apps exist, they are geared towards the Umami content which makes them slightly coupled. You will probably be wanting to create your own content types and data in Drupal, in which case the front end site you build will probably be created from the ground up.
This ultimately means that you will need to create and maintain two different codebases, one for the Drupal site and one for the front end component. I would probably opt to use the ContentaJS repository as a framework for this as it is intended to get you set up quickly and doesn't assume the content models you have in place.
The good thing about this solution is that it is dynamic. As the front end has direct contact with the Drupal site you can ensure that the latest content is available on your site. If an editor changes content the site will be updated without having to rebuild everything from scratch. It is also possible to embed forms and even allow searching in your front end site as all it needs to do is plug into the relevant API within your Drupal site.
If you have opted to use ContentaJS then all of the API communication will be done behind the scenes, so your users will never know where your Drupal site is. This allows you to lock down your Drupal application behind firewalls and other security measures that makes this solution just as secure as the entirely decoupled solution. Just remember that your API has creation endpoints as well as fetch endpoints so you need to take a look at the API and ensure that everything is secure.
Ultimately, you should think about how headless Drupal can fit into the rest of your web properties. Contenta CMS and the front end component can be tightly coupled together, but they don't have to be. You could use Contenta CMS to generate content that can be consumed where you need it, even if that's within another Drupal site.